If you are not tech-savvy, using the developer options on your Android device might seem intimidating. However, there are many options that the average user can take advantage of easily. This is why this article contains tips on how to get the most out of this hidden section - to help you improve both the look and feel of your smartphone. These are our favorite developer options tips and tricks.
Jump to:
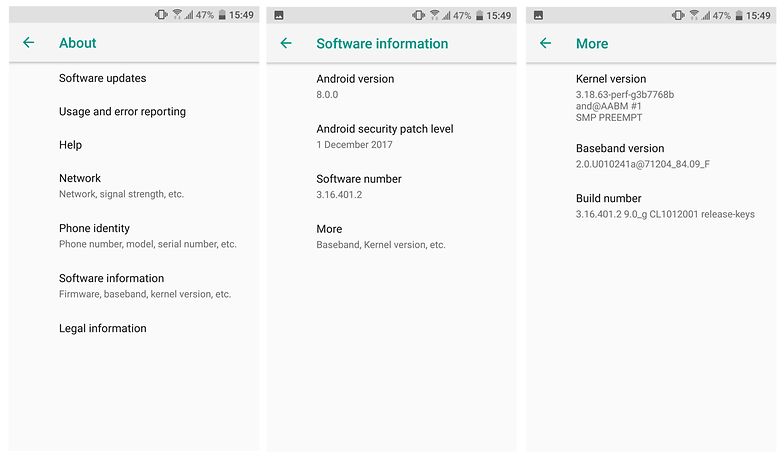
The first step toward developer options heaven is to actually enable them. To do this, go to Settings > About phone or Settings > About > Software information > More. Scroll to Build number and tap it seven times in a row.
By doing so, you will be notified that you have become a developer. You can then return to the settings menu and scroll to the bottom. You should be able to find the Developer options somewhere above About or About phone in the system settings.
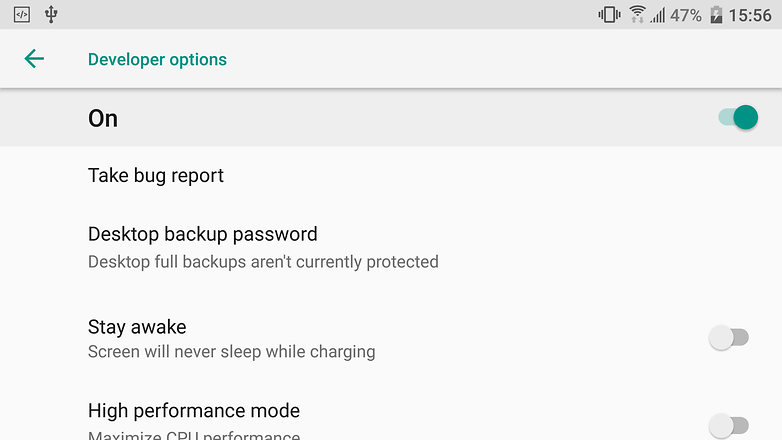
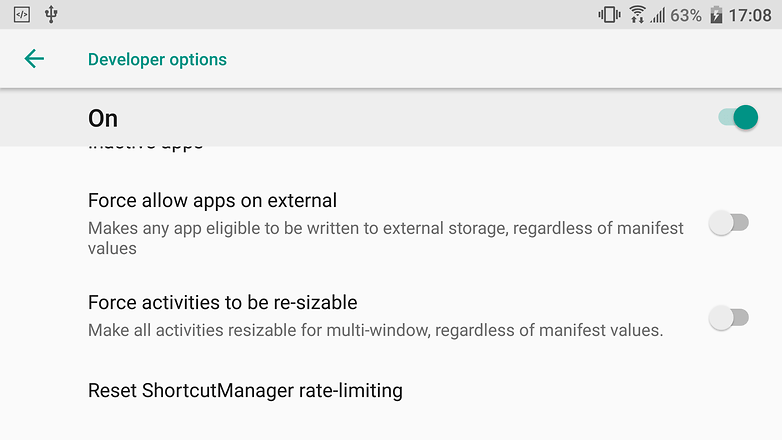
If you change your mind and want to disable the developer options, just open them in the settings and you'll see a simple on/off toggle in the upper right corner.
By enabling this option, your display will remain active whenever your device is charging. This, naturally, means your battery life is not threatened and if the display requires your frequent attention, it can be very useful.
To lock the device, you will need to use the physical power button.
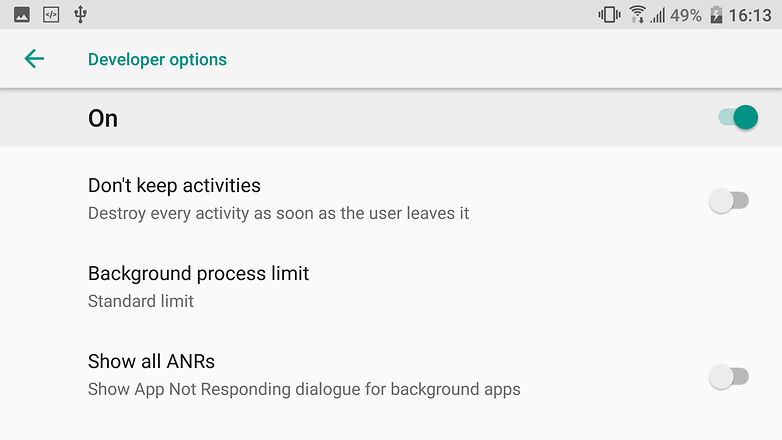
This setting lets you select the number of apps that remain running in the background. The limit caps at four apps, but you can choose to have no background apps running at all, if you wish.
With zero background processes, all of your applications will be terminated after use, which means whatever you're doing currently will receive Android's full attention and resources. This does mean, however, that switching apps will be slower.
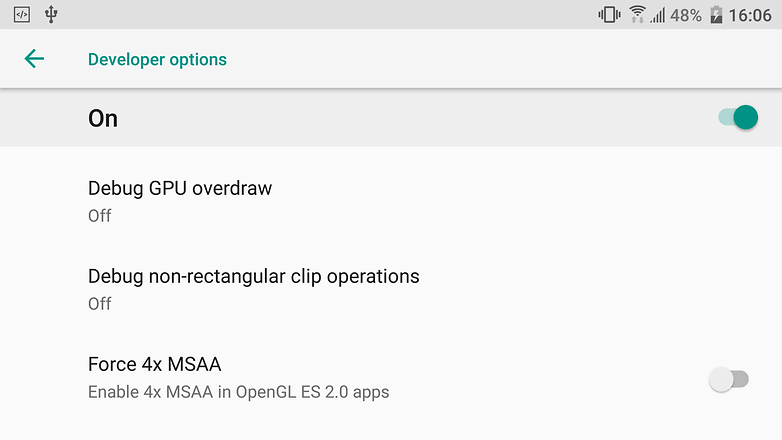
Enabling 4x MSAA improves the quality of graphics in games and OpenGL ES 2.0 applications. This requires more processing power and consumes battery more quickly but if you're okay with that, say hello to smoother, less-laggy graphics. Nice!
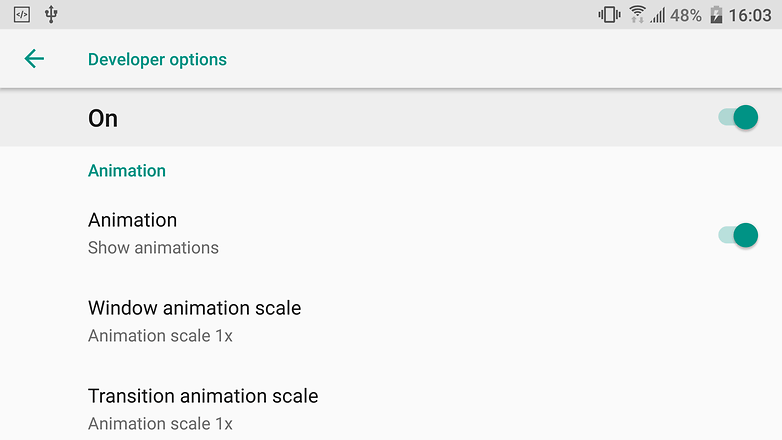
Okay, this trick doesn't actually speed up your device, but it's a great way to trick your brain into thinking your device became faster.
Disable all of the device animations so that there is no transition effect when doing certain tasks (such as swiping between home screens). The outcome is a device that feels quicker and smoother. Try it.
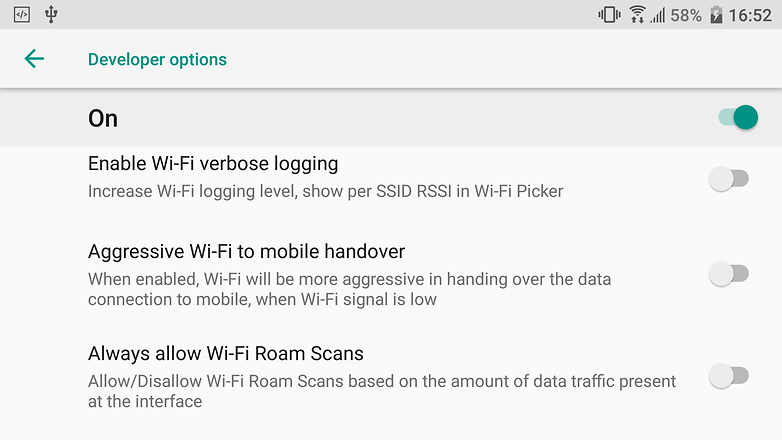
This doesn't speed up your mobile data per se, but it does speed up how fast mobile data is adopted after a Wi-Fi signal is dropped. This setting can be a little dangerous if you don't have a huge amount of mobile data to spare, because it means your device will be quicker to access it. Think twice before enabling it.
For example, your Wi-Fi signal may drop momentarily – as Wi-Fi signals tend to do – and your phone will immediately swap to mobile data, even if the Wi-Fi signal returns quickly.
If you never run over your mobile data limit, enable this setting and whenever you leave home or the office, you'll see your device switch to mobile data faster once you're out of reach of Wi-Fi. To make the effect even more pronounced, enable mobile data always active, too.
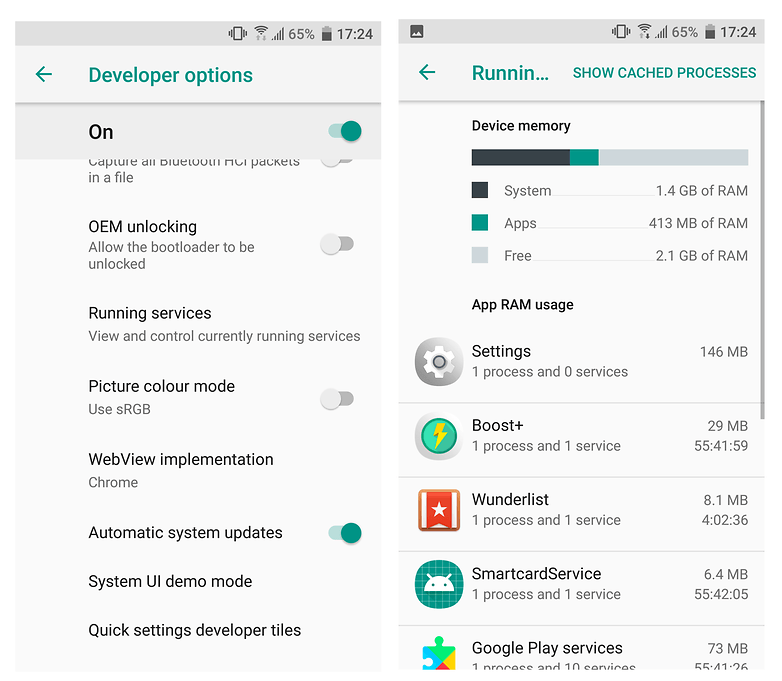
The Running services option is very similar to Task Manager on a Windows PC. It allows you to see what processes are currently running on your smartphone, how much RAM is in use and what apps are using it. The listed applications are ordered by their memory usage.
When you tap on an app, you can also see the specific processes and services it's using. This allows you to kill RAM-hungry apps, which you are not actively using (don't do this with system apps). However, we don't recommend terminating a single app process without stopping the app itself, since it can cause crashes and functionality issues.
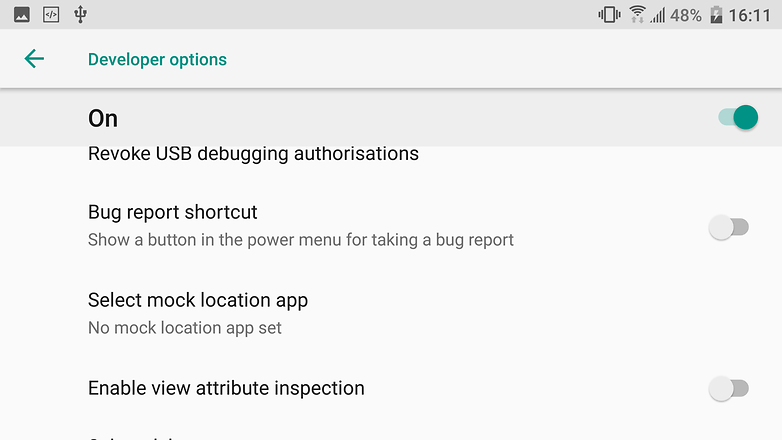
Tired of YouTube videos that are not available in your region? There are multiple apps on Google Play that allow you to spoof your location. Pick an app of your choice - one of the most popular ones is Fake GPS location, and install it. Then head to the developer options and find the Select mock location app option. When tapped it should display the location spoof app you just installed. Select it and then open the app to choose where you want to be 'transported'. All that's left to do after is to enjoy your media without region locks.
Split-screen was first introduced on Android 6.0 Marshmallow. The feature divides the screen into two, allowing users to have 2 apps displayed simultaneously. It's useful now more than ever - smartphone screens get bigger and bigger every year.
Not all apps support split-screen, but you can change that via the developer options. Find the Force activities to be resizable option and tick it. You will need to restart your Android device for it to take effect. It should work with most applications, but it's not a flawless method, so expect some app crashes and issues.
As Bluetooth and wireless headphones become more popular, this a small but useful feature you can find in the developer options. By default, when using Bluetooth headphones, you hear a generic ringtone when you get a call. If you want to hear your actual ringtone and avoid confusion when listening to music or radio, you can enable this in the developer options by ticking Enable in-band ringing.

We recommend that you do not enable the sections of the developer options that you do not fully understand. None of them are irreversible but their effects can be negative in the short term. If you leave a setting enabled and forget about it, your device might act in a way that consumes lots of battery life or data. Be careful.
If you are forever plugging your phone in to transfer files or use USB tethering and find yourself waiting for the notification to pop up to change the function, there is another way to make this process a little easier. By changing the default USB configuration in the Developer Options, you can have your Android smartphone automatically activate the option which you use the most.
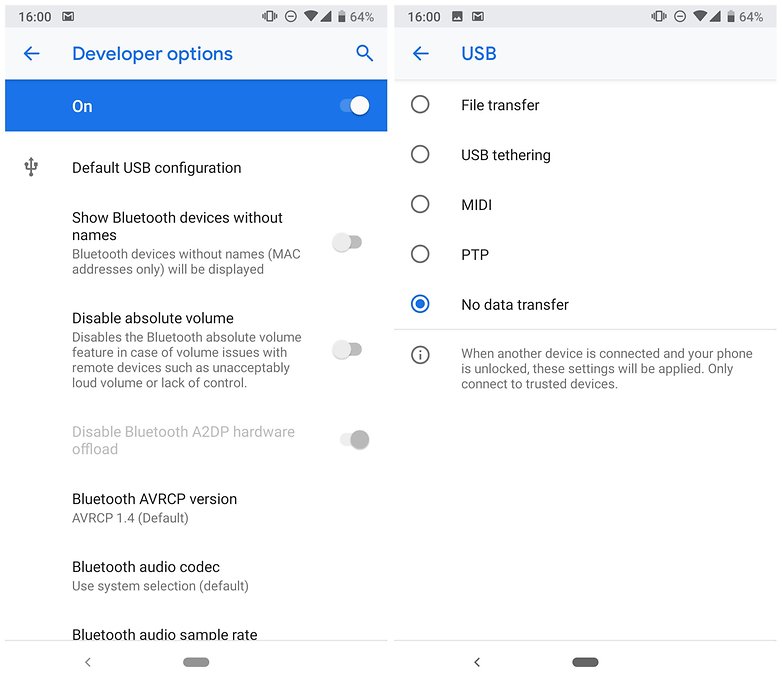
Pop down to Default USB Configuration and tap it, as shown in the image above. From there you have several options. The stock default option, as on mine here, is No data transfer. This means that by plugging in your phone via USB, all you will do is charge it. As well as USB tethering and File transfer, you can choose MIDI (Musical Instrument Digital Interface) or PTP (Picture Transfer Protocol) to be your new default option.
What's your favorite setting in the developer options? Let us know in the comments below.
Read More Open link https://ift.tt/1W1Vlg4
0 Response to "How to enable Developer Options on any Android phone"
Posting Komentar